

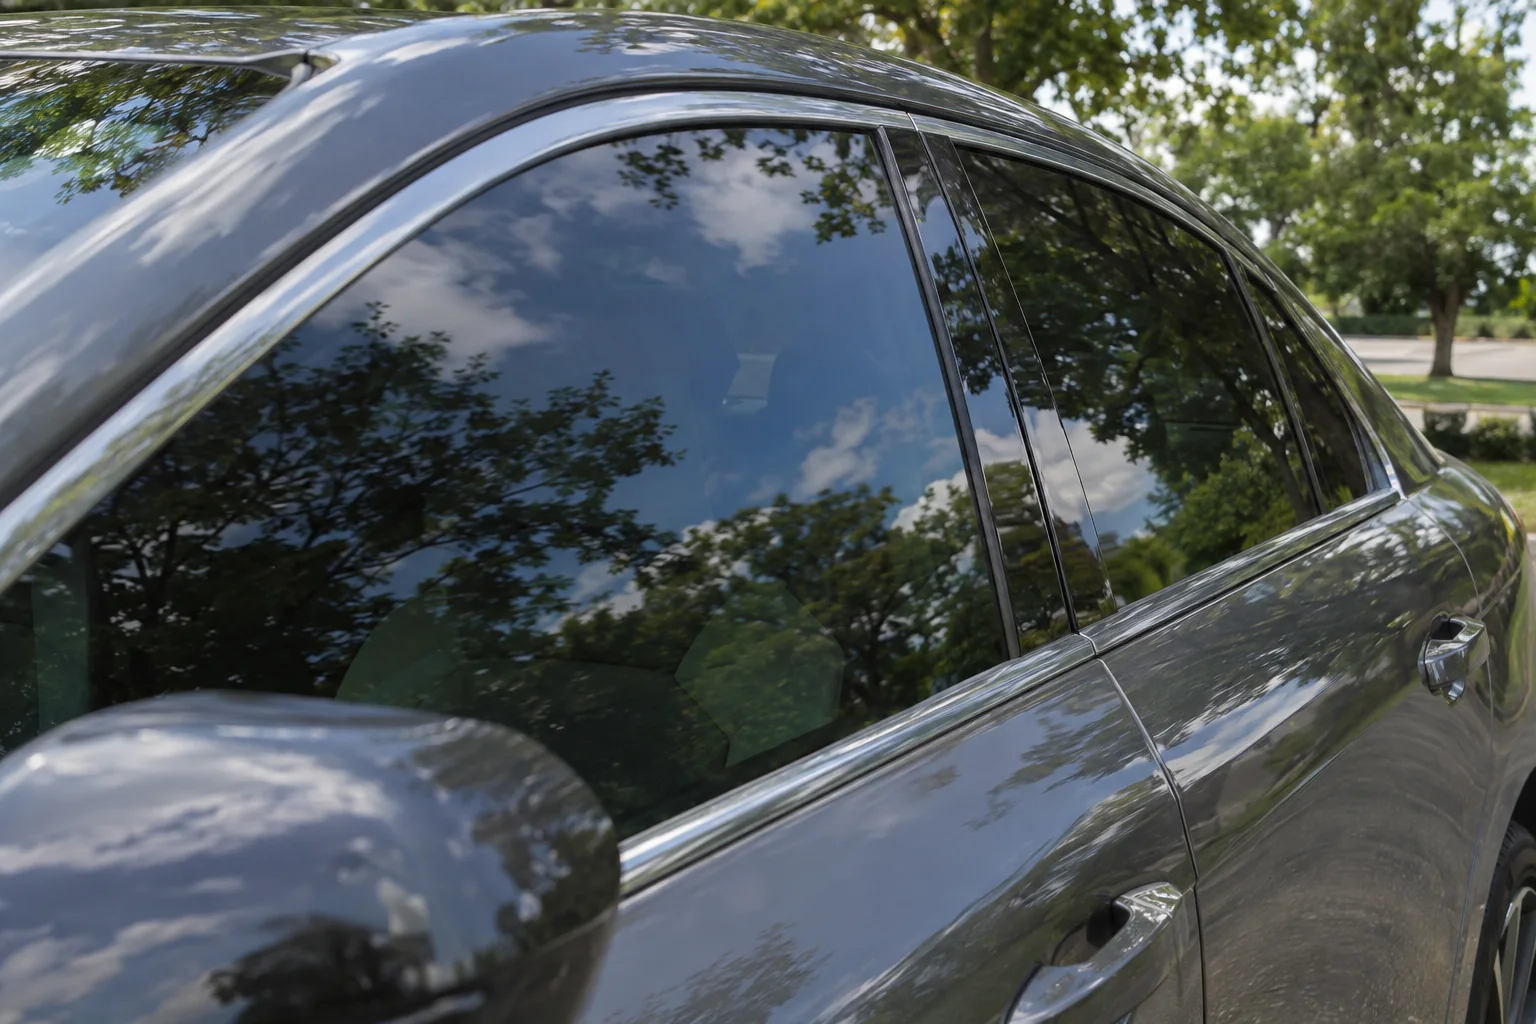
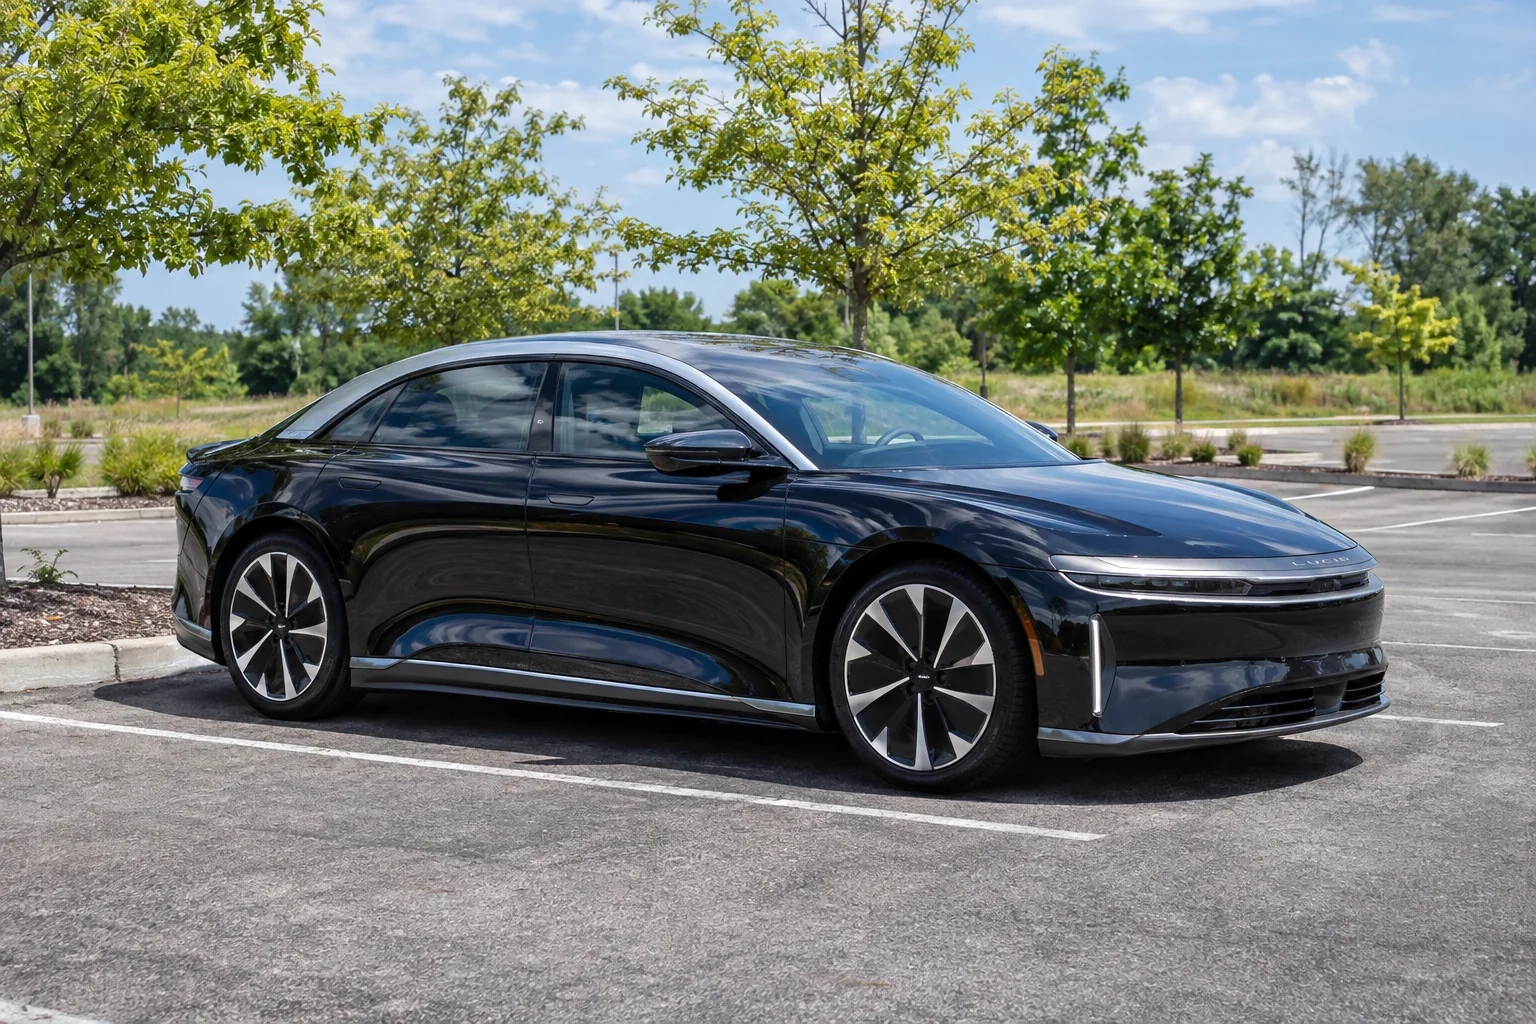
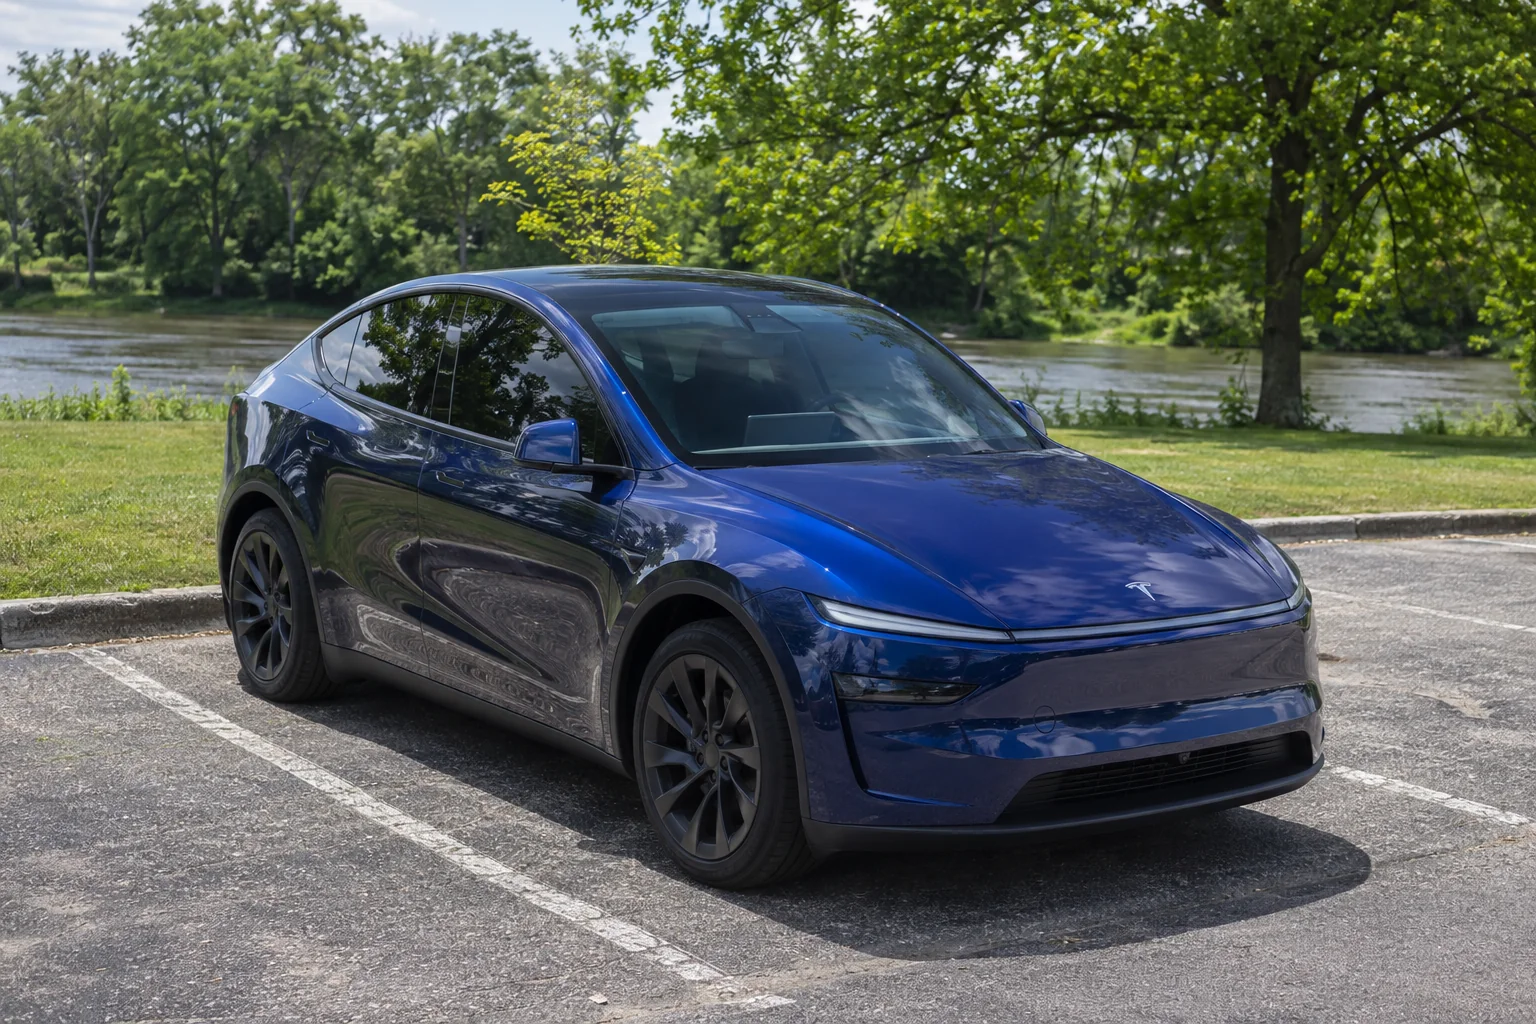
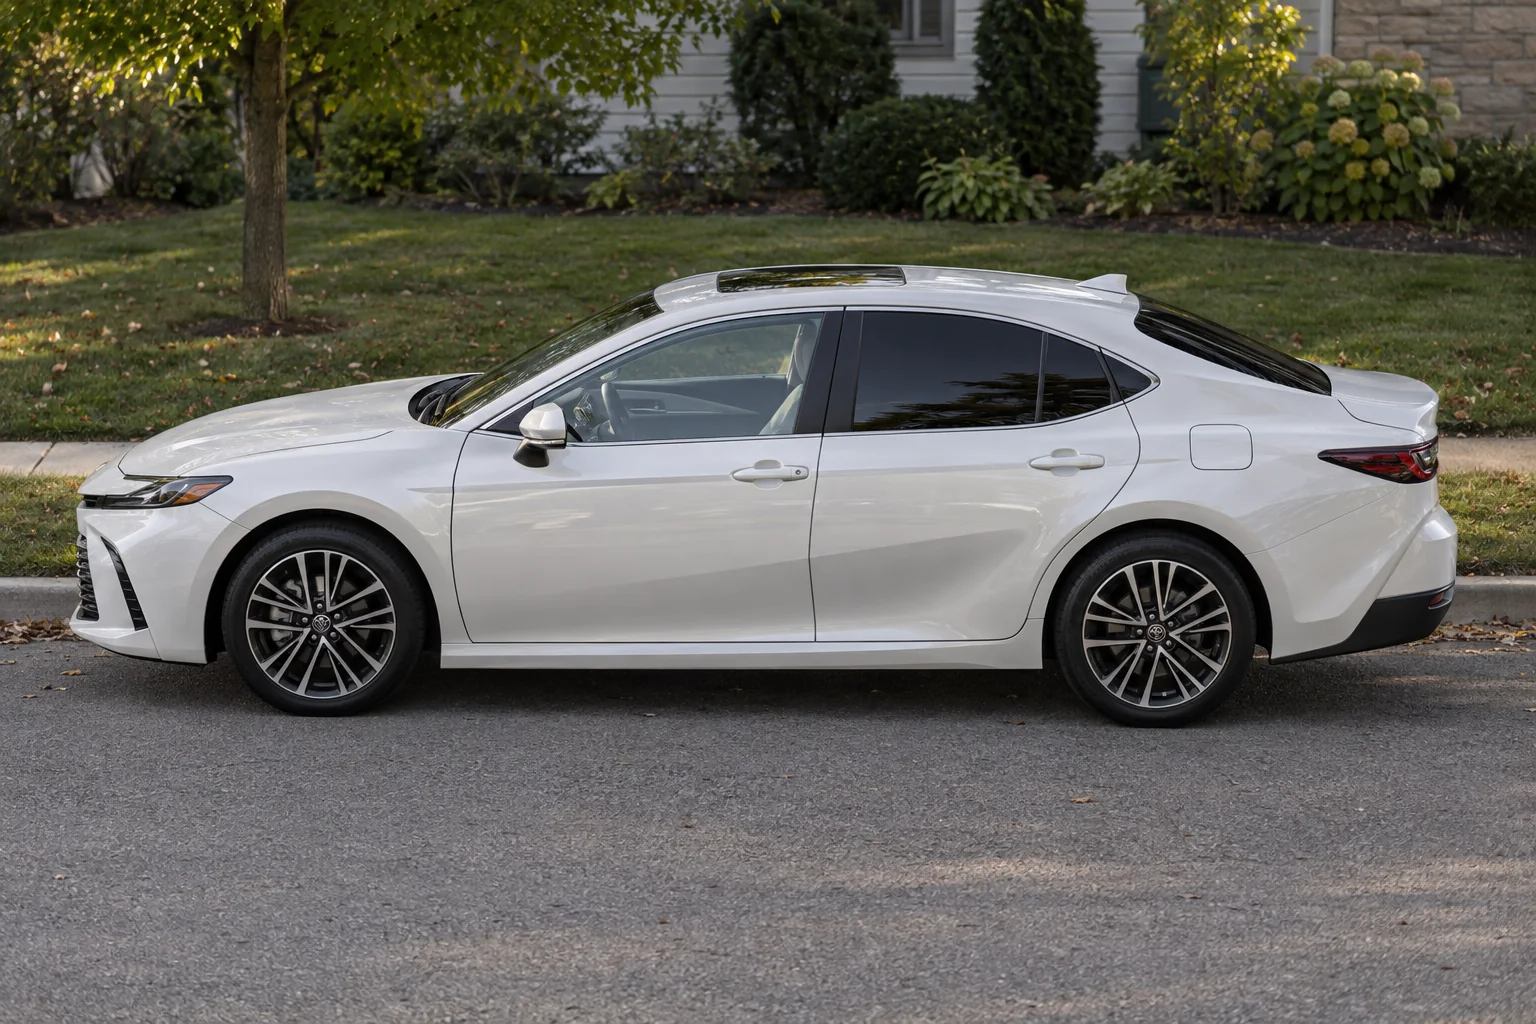
If you’re considering getting your car windows tinted, it’s helpful to understand the process involved. Professional window tinting is a meticulous procedure that requires skill and precision. Here’s a step-by-step guide to what you can expect during the window tinting process.
The Window Tinting Process: What to Expect

1. Initial Consultation and Selection
The process begins with a consultation where you’ll:
- Discuss your tinting needs and preferences
- Choose the type and shade of tint
- Receive a quote for the service
2. Vehicle Preparation
Before the actual tinting begins, the installers will:
- Clean the windows thoroughly, inside and out
- Remove any stickers or adhesive residue
- Ensure the windows are completely dry
3. Cutting the Film
Next, the tint film is prepared:
- The film is cut to fit each window precisely
- Some installers use computer-cut systems for accuracy
- Others may cut the film by hand for a custom fit
4. Window Cleaning (Again)
Just before application, the windows are cleaned once more:
- This ensures no dust or debris is trapped under the tint
- Special cleaning solutions are used to remove any static
5. Film Application
Now comes the crucial step of applying the tint:
- The backing is removed from the film
- A soapy solution is sprayed on the window and film
- The film is carefully positioned on the window
- Any bubbles or wrinkles are smoothed out
6. Heat Shrinking and Trimming
For curved windows, additional steps are needed:
- The film is heated to shrink it to the window’s contours
- Excess film is trimmed away for a perfect fit
7. Squeegee Process
To ensure proper adhesion:
- A squeegee is used to remove excess water
- This process is done carefully to avoid creases or bubbles
8. Final Inspection
Once the tint is applied:
- The installer inspects for any imperfections
- Minor adjustments are made if necessary
9. Drying and Curing
After installation:
- The vehicle is left to dry in a controlled environment
- Depending on conditions, full curing can take a few days
- You’ll receive instructions on window care during this time
10. Aftercare Instructions
Before you leave, you’ll be given care instructions:
- When you can roll down the windows
- How to clean the tinted windows
- What to do if you notice any issues
Conclusion
Professional window tinting is a detailed process that typically takes a few hours, depending on the vehicle. While it might be tempting to try DIY tinting, professional installation ensures a high-quality finish, proper adhesion, and longevity of the tint. Remember, the key to great window tinting lies in the preparation, precision, and expertise of the installers.
More from the blog
See them all Union Window Films: Where Style Meets ScienceUnion Window Films Enhancing Your View Union Window Films offer a sophisticated blend of aesthetic appeal and advanced technology, transforming windows from mere panes of glass into dynamic design elements that improve energy efficiency and enhance comfort. They seamlessly integrate style and science, providing homeowners and businesses with solutions that cater to both functional and…Read more
 Discover the Hidden Benefits of Infrared-Blocking Automotive FilmsDiscover the Hidden Benefits of Infrared-Blocking Automotive Films Beyond the aesthetic appeal of tinted windows, automotive films offering infrared (IR) blocking capabilities provide a surprising array of benefits for drivers and passengers. These films go beyond simple sun shading, offering significant advantages related to comfort, vehicle protection, and even fuel efficiency. One of the most…Read more
 Drivers in Hot Climates SWEAR by This Window FilmDrivers in Hot Climates SWEAR by This Window Film Extreme heat can make driving a miserable experience, significantly impacting comfort and even safety. For drivers in hot climates, finding effective ways to cool their vehicles is paramount. Fortunately, a solution gaining popularity is advanced window film, specifically designed to combat intense solar radiation and keep…Read more